How to Sell Event Tickets Online: A Complete Guide for Event Organizers
How to Sell Event Tickets Online: A Complete Guide for Event Organizers
Selling event tickets online can make it easier for event organizers to reach attendees, manage ticket sales, collect registrations, and keep track of event attendance. Whether you're organizing a concert, festival, community event, cultural program, food event, workshop, or private gathering, an online event ticketing platform can simplify the entire ticket-selling process.
Instead of relying only on phone calls, physical tickets, or manual registrations, organizers can create an event online, offer different ticket options, allow attendees to purchase tickets digitally, and manage everything from one place.
In this guide, we'll explain how to sell event tickets online and what event organizers should consider when choosing an event ticketing platform.
Why Sell Event Tickets Online?
Online ticket sales give event organizers a convenient way to make tickets available to attendees before the event.
Some of the key benefits include:
- Sell tickets 24/7
- Reach attendees beyond your immediate location
- Make event registration easier
- Create multiple ticket types
- Track ticket sales
- Manage attendee information
- Provide digital tickets
- Simplify event check-in
- Monitor ticket inventory
- Reduce manual registration work
Make it easy for attendees to discover your event and access ticket information online.
How Does Online Event Ticketing Work?
An online event ticketing process typically follows a simple journey:
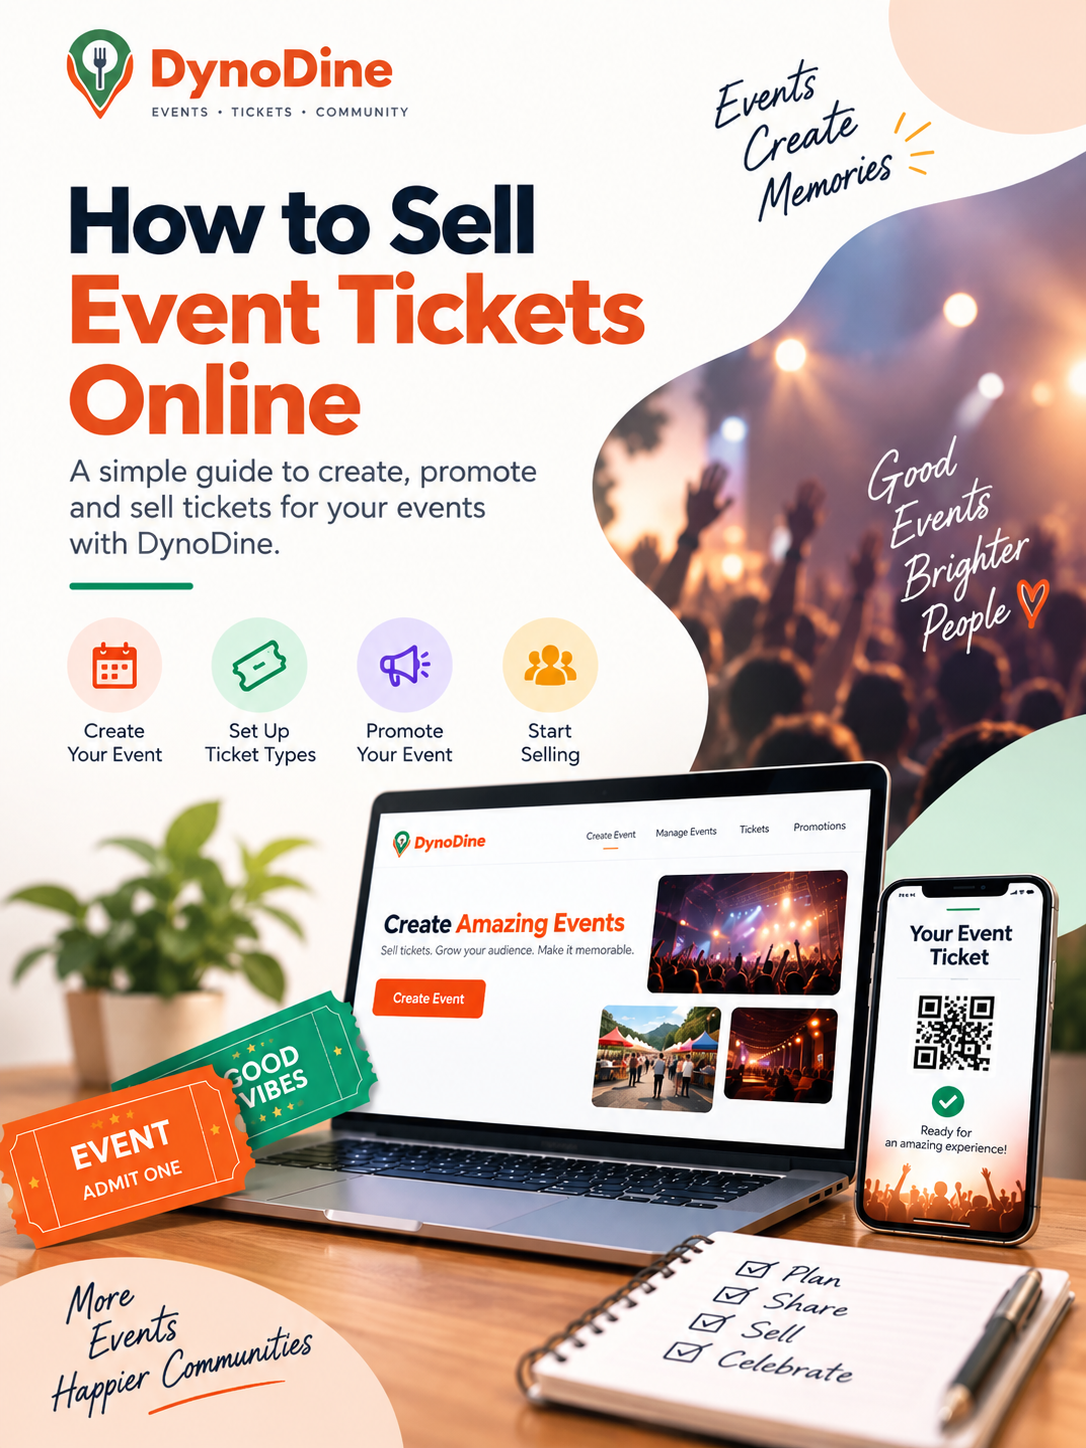
Create Your Event → Add Ticket Types → Set Pricing → Publish Your Event → We Promote Your Event → Sell Tickets → Manage Attendees → Check In Guests
With DynoDine, organizers can use the platform to showcase events and connect event information with the ticket-buying experience.
How to Sell Event Tickets Online Step by Step
Step 1: Create Your Event
The first step is to create a detailed event listing.
Your event page should clearly communicate the information attendees need before purchasing a ticket.
Include details such as:
- Event name
- Event date
- Start and end time
- Venue
- Location
- Street address, City, State, ZIP, code
A clear event page helps potential attendees understand what they are purchasing before they complete registration.
Create and organize your event information from the DynoDine platform.
Step 2: Configure Your Event Details and Attendance
Once you've entered the basic event information, the next step is configuring how your event will work.
DynoDine allows you to set an Attendance Capacity for your event. You can enter the maximum number of attendees your venue can safely accommodate.
For events without a fixed attendance limit, you can select No attendance limit, which can be useful for unrestricted outdoor or walk-in events.
You can also configure additional event information, including:
- Minimum age
- Event category
- Event setting
- Tags
- Free entry
- Booking required
- Walk-in availability
- Credit card fee option
- Alcohol served
- Waiver signature requirement
Adding the correct category and relevant tags can also help describe your event more clearly. For example, tags such as live, music, family, festival, food, concert, or community can provide additional context about the event.
Configure attendance capacity, event category, booking options, tags, age requirements, and other event details.
Step 3: Add Your Sponsors and Partners
If your event has sponsors or business partners, DynoDine provides a dedicated Sponsors & Partners section where you can showcase them on your event listing.
You can organize sponsors into different sections, such as:
- Main Sponsors for primary sponsors with larger logo placement.
- Supporting Sponsors for additional businesses or organizations supporting your event.
- You can also create compact partner sections when you need to display additional event partners.
- Add the appropriate sponsor logos and arrange them in the order you want them displayed.
Showing sponsors and partners directly on your event page can help visitors identify the organizations associated with your event while giving sponsors additional visibility.
Add and organize sponsor and partner logos for your event.
Step 4: Create Your Event Ticket Types
Now comes one of the most important steps when learning how to sell tickets online for an event: creating your ticket options.
In the Ticket Pricing section, select Add Ticket Type to create the tickets you want to sell.
Enter a clear Ticket Name so customers immediately understand what they're purchasing.
Depending on your event, you might create ticket types such as:
- General Admission
- VIP Admission
- Early Bird
- Standard Entry
- Premium Entry
- Family Package
- Group Admission
You can create different ticket types based on the structure and requirements of your event.
For each ticket type, enter the appropriate Price.
Clear ticket names and pricing make it easier for attendees to compare their options and choose the ticket that works for them.
Create ticket types and set ticket prices when selling event tickets online with DynoDine.
Step 5: Control How Many Tickets You Sell
Managing ticket inventory is an important part of online event ticketing.
DynoDine allows organizers to configure the number of tickets available for each ticket type.
- Use Maximum Tickets Available to specify how many tickets can be sold for that particular ticket package.
- You can also set a Minimum Quantity, which determines the minimum number of tickets a customer must purchase.
- The Maximum per Booking option lets you control the largest number of tickets that can be purchased in a single order.
For example, if you don't want one customer purchasing a large portion of the available tickets at once, you can set a maximum quantity per booking.
- DynoDine also provides an Enforce exact package capacity option. This gives organizers additional control over how ticket sales behave as a ticket package approaches its capacity.
- These settings help you manage event ticket availability while keeping ticket sales aligned with your event capacity.
- Set When Your Tickets Are Available, Not every ticket type needs to be available for the entire ticket-selling period.
- DynoDine allows you to set an optional Available From and Available Until date and time for a ticket type.
- This is particularly useful when you want to create time-based ticket options.
- Set ticket descriptions You can also add a description to each ticket type to explain what the ticket includes.
Set ticket descriptions and control when each event ticket type becomes available for purchase.
Step 6: Add Your Event Terms and Conditions
Before selling event tickets online, it's important to clearly communicate relevant event policies to attendees.
- DynoDine includes a Terms and Conditions section where organizers can enter event-specific terms.
- Depending on the event, your terms may cover information such as event admission policies, ticket requirements, schedule changes, attendee responsibilities, venue rules, or other conditions relevant to attendance.
- You can also add an Additional Waiver when your event requires attendees to acknowledge additional terms.
- If a waiver signature is required for your event, you can select the appropriate waiver option while configuring the event.
Keeping important event policies available during the ticketing process helps attendees understand the conditions associated with the event.
Add event terms, conditions, and additional waiver information before submitting your event.
Step 7: Upload Attractive Event Images
Images play an important role when promoting and selling event tickets online.
Your event images are often among the first things potential attendees notice when viewing an event.
DynoDine allows organizers to upload up to 10 event images.
Depending on the type of event, you could upload:
- Your official event poster
- Performer or artist images
- Venue photos
- Previous event photos
- Festival or activity images
- Promotional graphics
Upload event images to showcase your event to potential attendees.
Step 8: Review and Create Your Event
Before selecting Create Event, review all the information you've entered.
Make sure your event title is correct, your venue and address are accurate, and your event date and time are correct.
Check your attendance capacity, ticket names, prices, quantities, ticket availability dates, event description, terms and conditions, sponsor information, and event images.
This final review is especially important because incorrect ticket prices, dates, or venue information can create confusion for attendees.
Once everything is ready, select Create Event.
Complete your event setup and select Create Event to submit your event.
Step 9: Track Your Ticket Sales
Once tickets start selling, organizers need visibility into their event performance.
A useful event ticketing system can help organizers monitor information such as:
- Tickets sold
- Available tickets
- Orders
- Attendee information
- Ticket categories
- Sales activity
Tracking this information can help organizers understand how their event is performing and plan accordingly.
Monitor event activity and ticket information from the organizer dashboard.
Step 10: Manage Your Event Attendees
Selling tickets is only one part of event management.
Organizers also need to know who has registered or purchased tickets.
Attendee management can help with:
- Guest lists
- Ticket verification
- Event capacity
- Registration records
- Entry management
- Post-event reporting
Keeping attendee information organized is particularly important for concerts, festivals, conferences, and other events where large numbers of guests may arrive within a short period.
Step 11: Use Digital and QR Code Tickets
- Digital tickets can make event entry more convenient for both organizers and attendees.
- Instead of relying entirely on printed tickets, attendees can receive a digital ticket that can be presented when they arrive.
- QR codes can also be used as part of the event check-in process.
- At the entrance, staff can verify the ticket and confirm the attendee's entry.
This can help reduce manual checking and make the event admission process more organized.
Digital tickets can make attendee verification easier at the event entrance.
Step 12: Promote Your Event Through DynoDine
Creating an event is only the beginning. Getting your event in front of the right audience is an important part of selling more tickets.
With DynoDine, you don't have to handle all the promotion yourself. DynoDine helps promote your event through multiple channels to increase its visibility and help potential attendees discover it.
DynoDine can promote your event through:
- Social media promotion
- Email marketing campaigns
- Event discovery on the DynoDine platform
- Promotion to local and relevant audiences
- Digital marketing campaigns
- Community and local event promotion
- Partner and influencer promotion where applicable
- Event listings and featured event visibility where applicable
DynoDine helps promote your event across multiple channels and connects potential attendees with your event and ticket information.
Why Use DynoDine for Event Ticketing?
DynoDine brings event discovery and digital ticketing together, giving organizers a platform to showcase their events and connect with potential attendees.
With DynoDine, event organizers can create event listings with important information such as the event description, date, time, location, and ticket details.
The platform can also help create a more organized journey from discovering an event to purchasing a ticket and accessing the event booking information.
Whether you're organizing a local community event, concert, festival, cultural celebration, food event, or another type of gathering, having your event information and ticketing experience in one platform can simplify event management.
[SCREENSHOT: DynoDine organizer/admin dashboard]
Manage your event information and ticketing activity through DynoDine.
[SCREENSHOT: DynoDine public event page]
Help attendees discover your event and access ticket information in one place.
Start Selling Event Tickets Online With DynoDine
Selling event tickets online doesn't have to be complicated.
From creating an event and setting up ticket options to promoting your event and managing attendees, a digital event ticketing platform can help organize the process in one place.
With DynoDine, event organizers can showcase their events, provide attendees with event and ticket information, and create a convenient digital experience for discovering and attending events.
Ready to put your event in front of more attendees?
Create your event with DynoDine and start selling tickets online.